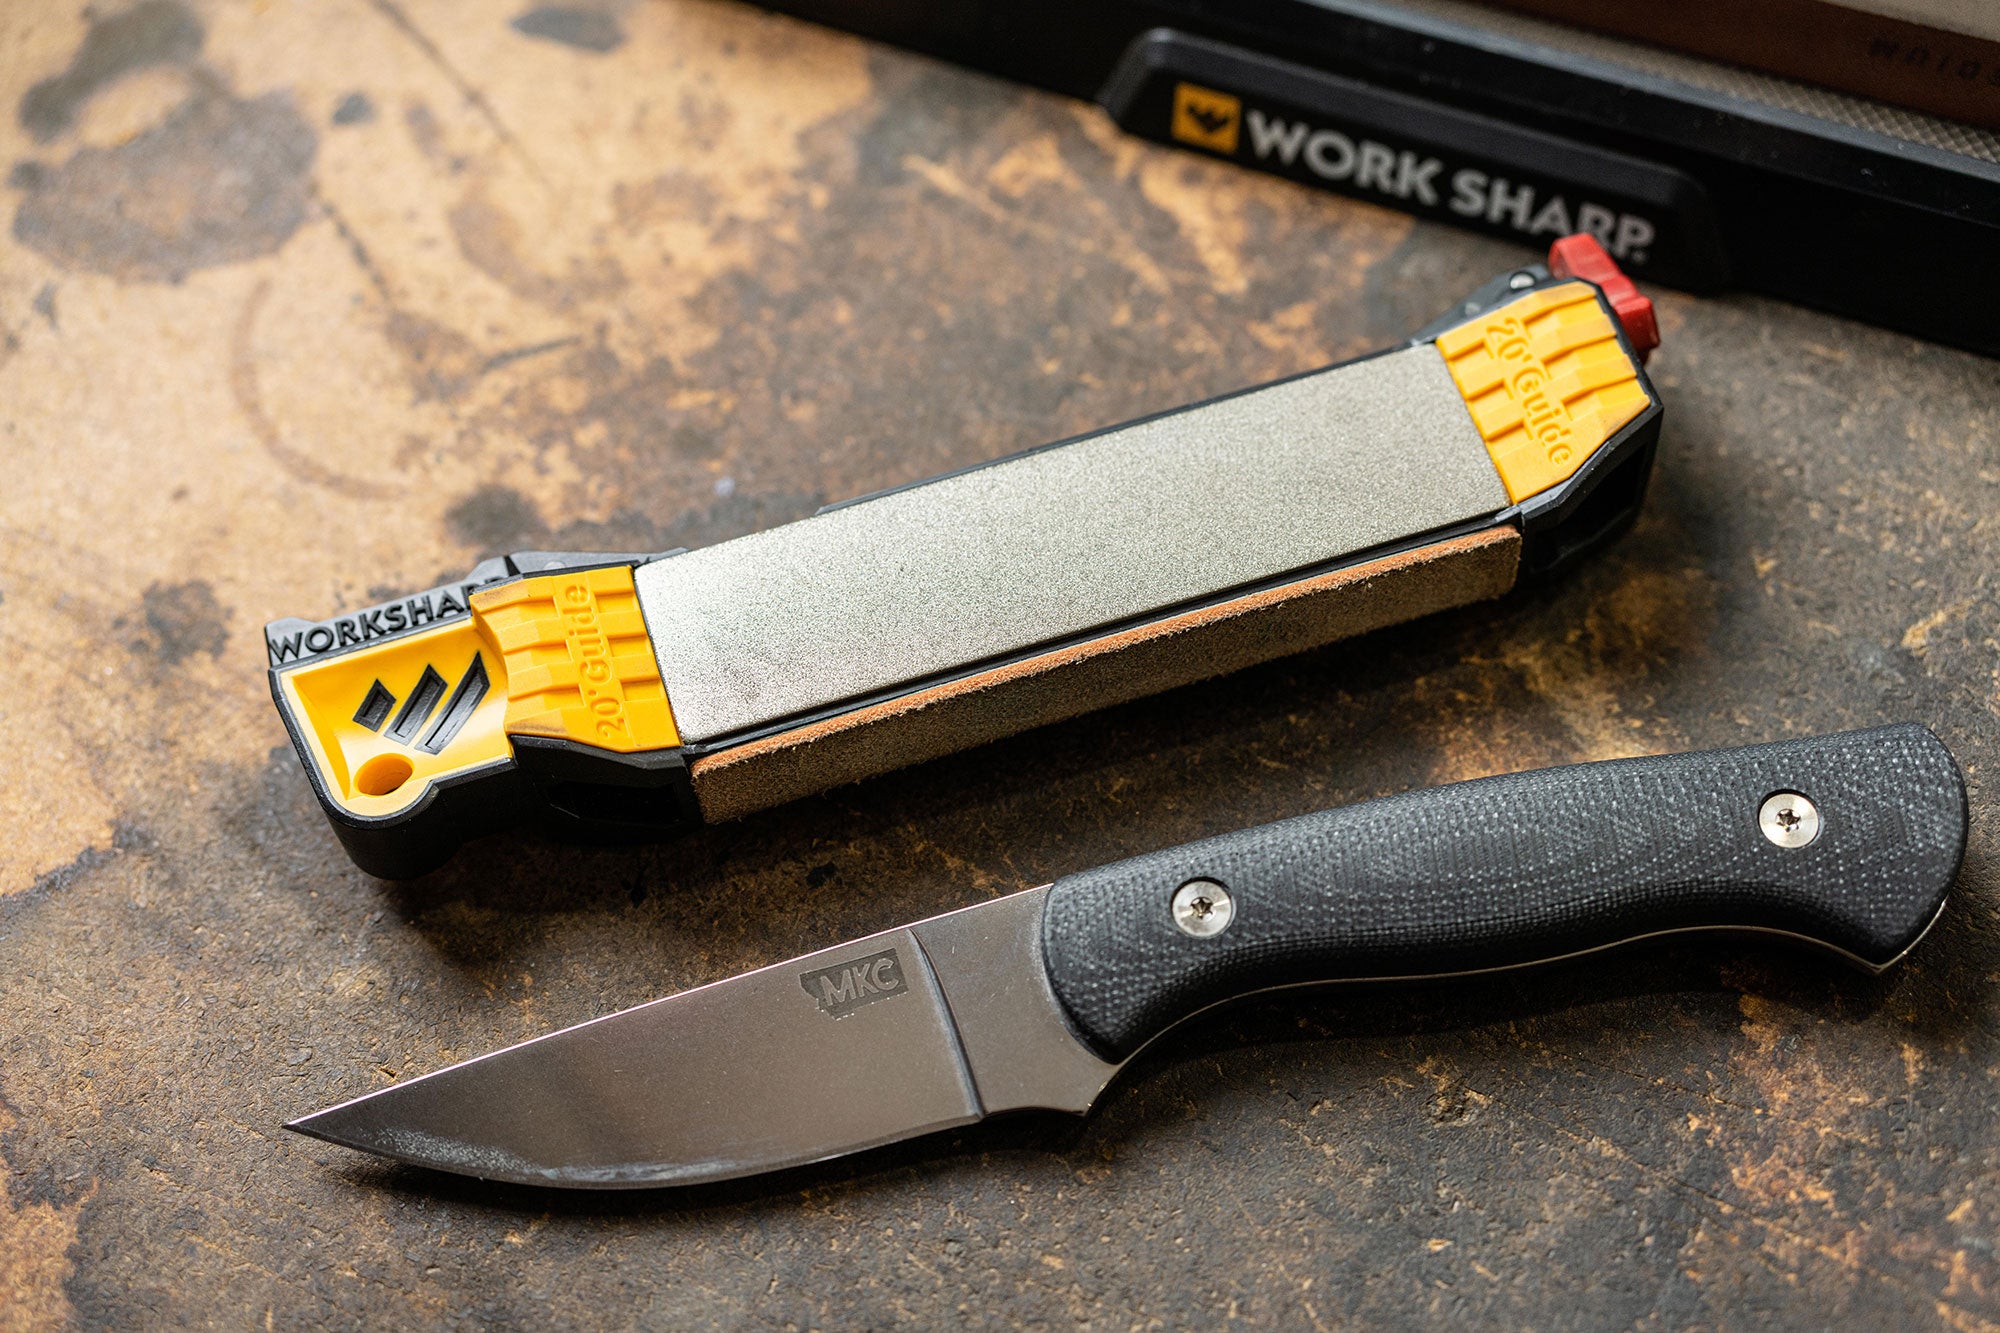
Sharpening a Hunting Knife with Bladesmith Josh Smith
From his shop on the banks of western Montana’s Clark Fork River, Master Bladesmith Josh Smith makes custom hunting knives. One reason he launched Montana Knife Company is because he didn’t think the big knife companies were focused enough on hunters. “We’re a hunting knife company first and foremost,” he says. “We’re legitimate hunters here. The blonde gal in the packaging room has already killed two bears with her bow.”
Smith’s been crafting blades since he was 11 years old. At 15 he became the youngest knife maker to ever pass the Journeyman bladesmith test. Four years later, he became the youngest Master Bladesmith in the world. The guy knows how to make a knife, and he knows how to keep it sharp. Here’s his advice on how to keep an edge on your next hunt.
First, Choose the Right Knife
Most commercial hunting knives are too thick and made of steel that is incredibly hard to sharpen once they become dull. Smith says companies do this so the knives won’t break easily. “It’s great that your new knife is sharp right out of the box, but once it’s dull, you’re screwed,” he says. The problem is that once those knives lose their edge, it’s nearly impossible to sharpen them without using a belt grinder.
Montana Knife Company knives have a thinner blade geometry made out of steel that gives you a nice balance between hardness and stiffness. For his knives, Smith uses CPM MagnaCut steel and 52100 ball-bearing steel to find that balance.

The edge on a hunting knife doesn’t need to be razor sharp. In fact, you don’t want it razor sharp. Instead, you want an edge that’s going to rip through the hide and hair. If you sharpen your knife properly, you’ll get an edge with microscopic saw teeth that will do just that. Here’s how.
Four Steps to an Edge
1: Use a Stone
It pays to spend a few bucks on a water or oil stone to keep in the shop or kitchen drawer. For edge touch ups, Smith likes to use stones between 600 and 1,000 grit for hunting knives. To compare, a chef’s knife will need 1,000-8,000 grit for a finer edge. If his knife needs a touch up in the field, Smith uses a small Work Sharp diamond plate.
2: Feel the Burr
Starting with the tip of the knife against the stone, draw the blade backward at an angle of about 20 degrees. Keep in mind, you’re not pushing it blade first away from you. As you draw the blade across the stone, keep steady downward pressure. Work one side for 10 passes then feel for a burr. What’s a burr, you ask? When you sharpen, you’re actually removing and moving the steel. A burr is created when the steel folds over to the opposite side of the edge you’re sharpening. When you slide a finger perpendicular to the edge, it should feel a little rough if you created a burr.
Once you’ve established a burr on one side, flip the knife over and draw backward for another 10 or so strokes. Then begin alternating each draw stroke to even out the burr on each side of the edge. When you’re done, the entire edge should have just a small, even burr. Think of it as an incredibly small wire bead along the length of the blade.
3: Strop It
To hone up that tiny wire burr, use a strop or a leather belt. Drawing the blade backward again, you’ll notice one direction might scuff up the leather. That’s the leftover wire burr. Keep stropping until the scuffs lay down or hit that side with the stone again for one or two passes.
4: Test
When do you know your blade is sharp enough? Hold up a piece of paper and try to use your knife to slice it. If that blade automatically grabs it and starts cutting, then you’re ready. If the edge catches in a particular spot, that means you’ll need to buff out that section a little more. When you think you’re sharp, find your hairiest hunting buddy in camp and see if he can shave off a chunk of his arm hair. If he dumps a pile of fur on the tent floor, then you're good to go.


