How to Build a Solid Shooting Position
A perfect hunter does not exist, but we can all push ourselves to be as proficient and skilled as possible. We are always learning to be better hunters, and it takes a lifetime of study to become masters. That’s why several members of the Stone Glacier team recently took part in a shooting course with Modern Day Sniper. The goal was not to learn how to shoot an animal at 1,000 yards. Our goal was to learn new skills, refine technique, and maybe even break some bad habits so we can become as skilled with our rifles as possible.
Phillip Velayo is a former U.S. Marine Corps Scout Sniper Instructor and an instructor with Modern Day Sniper. He provided our team with both a visual from which to build a stable shooting position from as well as a shooter’s checklist. We’ll dive into both here.
Shooting Position Triangle
When building a shooting position, always keep three things in mind. First, achieve comfort. If you’re not comfortable you will not shoot accurately. Second, establish a stable rest. And lastly, you need recoil control. For any one of these three elements, if you focus too much on one, the others will suffer. For instance, a standing shot might be the most comfortable, but stability and recoil control are going to be compromised. Balance is key.

Shooter’s Checklist
When building your shooting position, keep these six things in mind. Don’t try to do more than one at a time, especially when you’re learning. Your brain can only effectively process one at a time.
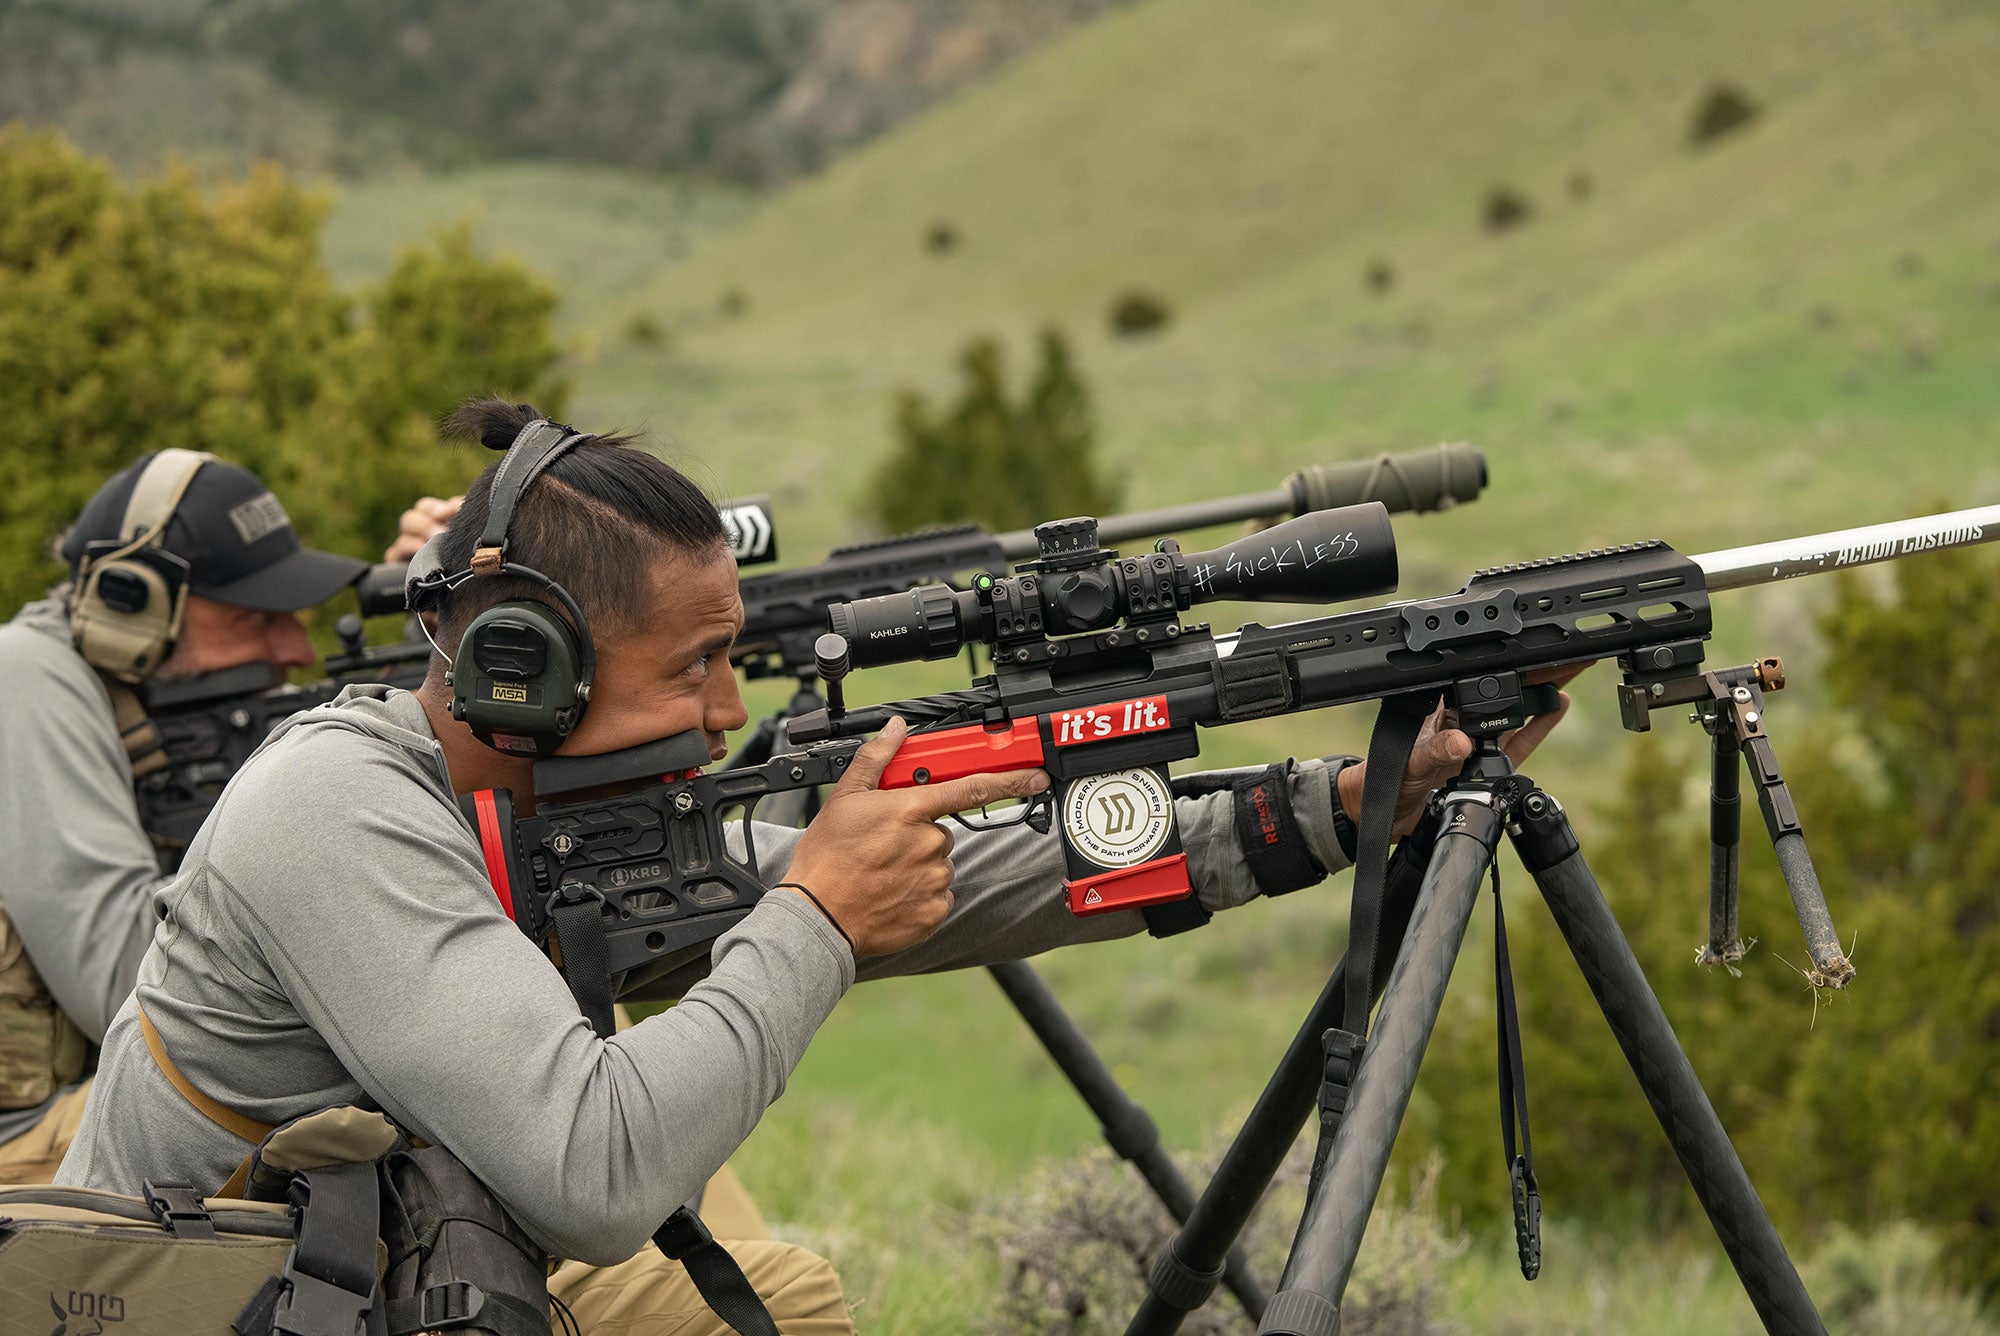
1) Ground the Rifle
Point your rifle toward the target and build upon whatever is in contact with the rifle and the ground. That might be a tripod, bipod, rock, backpack, etc. This seems elementary, but it’s going to be the foundation upon which you build the rest of your position.
2) Body Position
Once you’ve grounded your rifle, then settle in. This step involves a number of other factors including, rifle-to-shoulder connection, grip, center of gravity, etc. For now, just focus on being comfortable in your set up.
3) Aiming Process
Now that you’re comfortably lined up on your target, take aim. Center the target in your sight and make sure that you can clearly see the target downrange. There should be no shadows in your scope. It’s okay to have a little target wobble in a confined space within your target area. If your scope is swirling in a figure eight and you’re tempted to time the shot, don’t shoot. Avoid timing the shot by tightening up your wobble zone.
4) Firing Controls
Relax, control your breath, and watch the sight settle. Next, focus on practicing complete trigger control. When you’re ready to fire, press the trigger straight through with consistent pressure until the rifle breaks. Think of it as drawing a straight line from the trigger to your nose.
5) Follow-Through and Recover (Post-Shot)
After you press the trigger, you will get hit with recoil. You must recover quickly to see your shot downrange. This is called dwell time, which will be longer for those shooting a 300 Win Mag versus someone shooting a 6.5 Creedmoor. Reducing dwell time is key to getting proper shot feedback.
6) Feedback
After the shot, keep everything as still as possible to see bullet impact. Don’t even reach for the bolt because that will distract you from focusing on where your bullet went downrange. Velayo calls it “milking the follow-through.” Once you determine impact, then reach for the bolt and reacquire the target in your scope.
Last, Velayo emphasizes that our brain can only effectively think about one thing at a time. Don’t try to do it all at once and don’t worry about multiple things at the same time.
We’ll be posting more great educational content from Modern Day Sniper in the future, so stay tuned.

